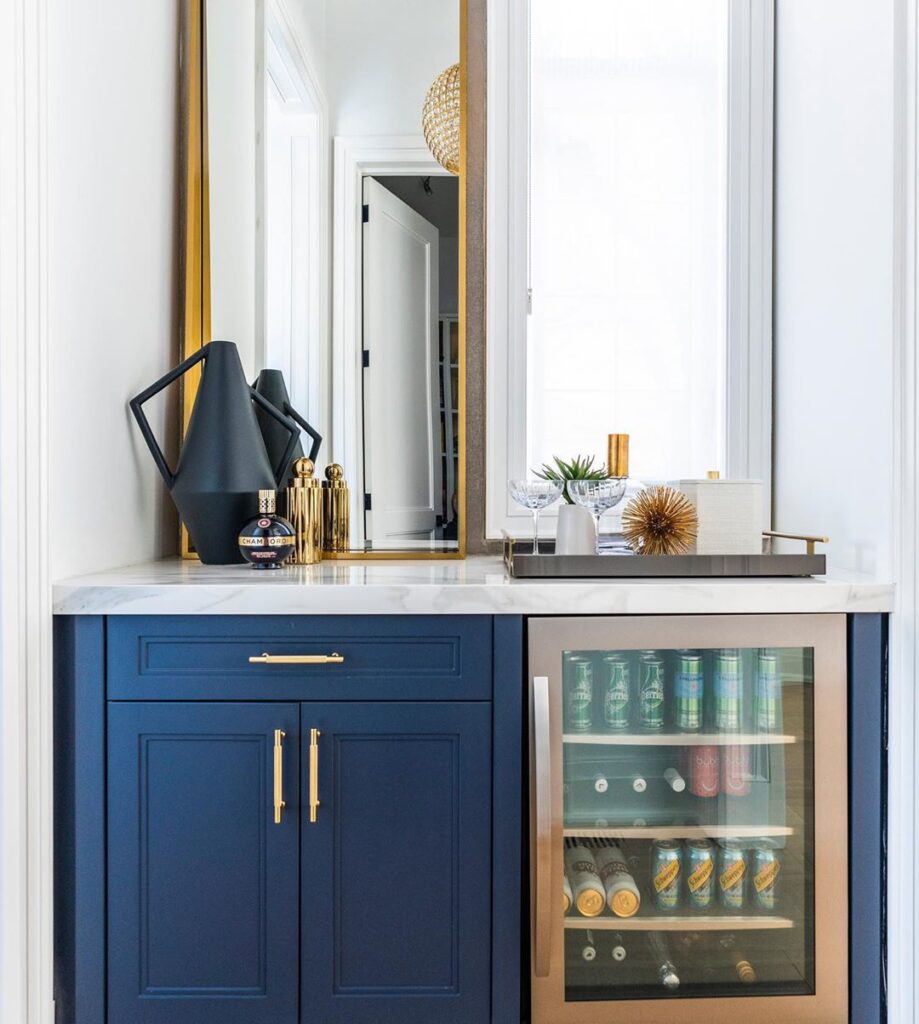
A custom liquor and wine cabinet can be a stunning and functional addition to your home, serving as a focal point for entertainment while providing a stylish way to store and display your collection.
Building a custom cabinet allows you to design a piece that fits seamlessly into your space and showcases your unique style. In this guide, we will take you through the steps to create a custom liquor and wine cabinet that will become a cherished centrepiece in your home.
Materials and Tools Need
Before you begin, gather the following materials:
- Plywood sheets (choose a wood species and finish that suits your décor)
- Cabinet hardware (hinges, handles, knobs)
- Screws
- Wood glue
- Wood stain or paint
- Sandpaper
- Glass or acrylic sheets for doors and shelves
- Wine glass racks
- Wine bottle holders
- LED strip lights (optional for illumination)
You will also need the following tools:
- Saw (circular saw or table saw)
- Screwdriver or drill
- Clamps
- Measuring tape
- Level
- Paintbrushes or foam rollers
- Safety equipment (gloves, goggles)
Step 1: Design and Planning
Determine the dimensions of your liquor and wine cabinet based on the available space and the size of your collection. Sketch a design that includes the number of shelves, compartments, and any special features you want. Plan for proper ventilation to ensure your wine is stored at the right temperature.
Step 2: Gather and Cut the Materials
Purchase plywood sheets based on your design and measurements. Use a saw to cut the plywood into the necessary pieces for the cabinet’s sides, top, bottom, back, and shelves. Sand the edges and surfaces of the cut pieces to create a smooth finish.

Step 3: Assemble the Cabinet
Begin by assembling the basic frame of the cabinet, attaching the sides, top, bottom, and back using wood glue and screws. Ensure the cabinet is square and level during assembly. Install wine glass racks and bottle holders as desired, firmly securing them to the cabinet.
Step 4: Add Shelves and Doors
Install the shelves within the cabinet, adjusting their spacing to accommodate different bottle sizes. Attach glass or acrylic sheets to create doors for the cabinet, securing them with hinges. Add handles or knobs for easy door opening and closing.
Step 5: Finish and Customize
Apply wood stain or paint to the cabinet to achieve your desired finish. Consider adding LED strip lights to illuminate the cabinet’s interior for an elegant touch.
Step 6: Personalize with Premium Liqueurs
To make your custom liquor and wine cabinet even more unique, stock it with premium personalized liqueur. These liqueurs will add a touch of luxury to your collection and make great gifts for friends and family.
Building a custom liquor and wine cabinet for your home is a rewarding DIY project that adds both style and functionality to your living space. Following these steps and incorporating personalized premium liqueurs create a unique centrepiece that reflects your taste and enhances your home’s ambience. Whether for entertaining guests or enjoying a quiet evening, your custom cabinet will be a source of pride and enjoyment for years to come.


