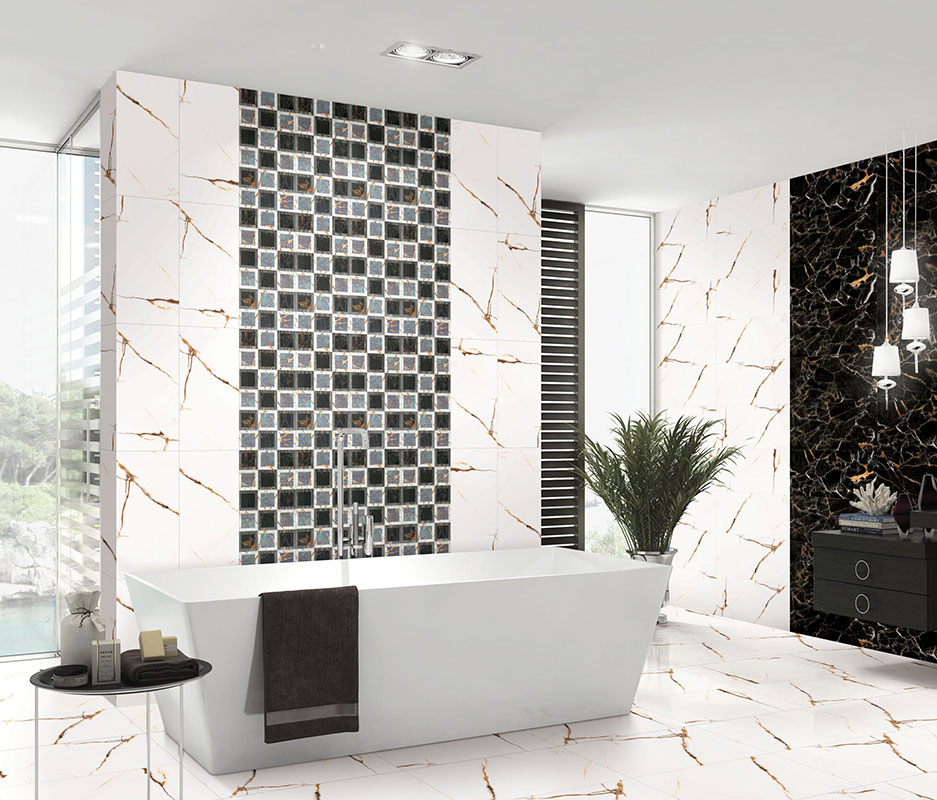
Honestly, there’s nothing more beautiful than well-designed and classy tile walls! When you go to someone’s house, what’s the first thing you notice?
-The tiles on their walls, isn’t it?


Tiles play a significant role in reflecting your personality. Everyone loves classy and well-designed tiled walls. But what would happen if the entire installation process becomes a blunder?
-An entire waste of beauty, money, and time!
There were many cases where people messed up the entire tiling procedure and messed up the beauty of the walls entirely.
Yes, it’s true; tiling your walls might be daunting, but if you follow the proper guideline and steps, then you can indeed ease your way through the procedure.
Therefore, this article will guide you with all the ins and outs of how easily and effectively you can tile your walls.
Read till the end, so that next time when you tile your walls, it’ll be pitch-perfect!!
Step-01: Measure The Height And Width of Your Wall
The first thing that you will do is measure both the height and width of your wall. Through this, you’ll get the idea of how many tiles you’ll be needing.
Using a measuring tape, you can easily take precise measurements of the wall’s area you will tile.
Always remember to buy an extra package of tiles so that you can instantly replace them with the extra ones if any tiles get damaged.
Step-02: Remove The Existing Tiles By Using Chisel And Hammer
Before you go on doing this, you must put on safety goggles first. Then, take the chisel and place it at an angle of 45 degrees.
Ensure the chisel is placed in between the tiles so that when you hit the back of the chisel with a hammer, it easily separates the tiles from the walls.
You can also use the chisel to sweep off all the tiles from the walls until the wall is spotless.
Keep in mind to start this procedure from the corner or the top of your wall. And also, make sure that the chisel is at 45 degrees angle. Otherwise, you might end up cracking the drywall or putting a hole in it.
Step-03: Fill Up Any Cracks or Holes With Spackle
After taking off the old existing tiles from your walls, you’ll likely be seeing some cracks or even holes on your walls.
Take a scraper and apply a spackle on those cracks or holes. Then let it dry! Usually, it takes 4 to 6 hours to dry off. But I’ll suggest you read the directions provided on the package.
Step-04: Use Sandpapers To Make The Walls Smooth
If you had to fix the holes and cracks on your walls, then you’ll surely notice bumps on the walls. So, before you can install new tiles, it’s essential to smooth the surface of the walls.
This is where sandpapers are required. Take 100-grit or 80-grit sandpaper and scrape the surface of the wall so it becomes smooth.
And also, make sure to wear a mask during scraping as these particles from the air might end up entering the lungs.
Step-05: Wipe The Drywall Dust With A Damp Sponge
After you are done with the scraping, take a sponge and drip it into a bucket of clean water. Then starting from the top, take the damp sponge and clear off all the dust from the wall.
Make sure you wipe the entire wall. After the whole wiping is over, make sure to wait for at least an hour for the whole wall to dry.
Step-06: Choosing Your Desired Tiles
Now comes one of the challenging parts of the installation process. Choosing suitable tiles for your walls can be a headache, but you need to stay put and use your creativity to analyze which one will be the suitable one for you.
You can surf the internet, seek your family members’ suggestions, or even ask the advice of an expert. But make sure you choose suitable tiles for your walls!
Step-07: Start Applying Adhesive On Your Walls
Start applying 0.32 cm of adhesive from the bottom corner, leaving the bottom, side, and edges of the wall.
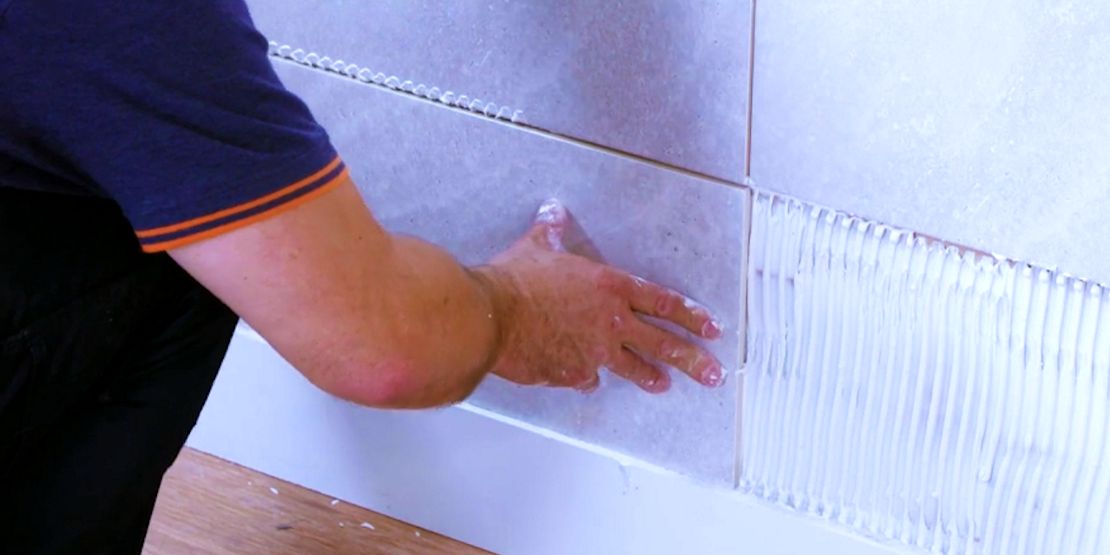
Take a small scoop of adhesive and place it onto a notched trowel, and spread it in a thin layer over the wall so that you can hang 2 to 3 tiles at a time.
There are chances that you might have to move the trowel over the adhesive quite a few times to make the layer thin and keep it level.
Step-08: Continue Adding Adhesive For The Entire Wall
Carefully and gently place all the first tiles in a line and thoroughly press them into the adhesive.
Make sure when you are pressing the tiles into the adhesive, wiggle and reposition the tiles into a proper alignment.
Then continue the procedure for all the rows and columns. And if you want, you can make your own customized patterns.
Step-09: Add Spacers For Even Grout Lines
When you’ll hang the tiles onto the walls, make sure to place plastic spacers in between each and every tile so that there’s a space for you to apply the grouts.
These spacers fit perfectly between each tile and ensure that the grout lines remain even.
You’ll even find that some of the tiles already have built-in spacers. So check your tiles before you go on purchasing spacers.
Step-10: Remove The Spacers Before Applying Grout
This part of the section is crucial, so read carefully.
Make sure you remove the spacers when the adhesive is slightly wet. Otherwise, it might get stuck into the wall.
Just after you have applied the adhesive and spacers, within 1.5 hours, remove the spacers before proceeding further.
Step-11: Mix And Apply Grout
Grouts are applied in between the joints of the tiles. The reason for this is grouting will help these tiles to stick onto the wall.
Ensure that when you are buying grout, it matches with the color of your tiles, and then mix it thoroughly by reading the instructions from the package.
After you are done mixing, apply the grout all over one section of the wall and then proceed to other areas!
Step-12: Grout Off, Sponge, And Let It Shine
After you have finished grouting, wait for 30 minutes for the grout to dry off. Set a timer and wait for the right time.
Thirty minutes later, take a sponge and dip it in clean water and wring it out. Then wipe over the tiles to remove most of the grout from it.
Now keep the tiles in this way for an hour. Then take a dry sponge and wipe it all over the tiles again. This time it’s to remove the haze from the grout.
Keep rubbing the tiles until you see all the tiles are clean, and there’s no sign of grout residue anywhere.
Finally, you can apply a sealer to block the moisture from entering. In this case, you must make sure that you have applied the sealer on each and every tile, including the edges and the corners.
Then leave it for 6 to 8 hours, and then you are done tiling your walls!!
I hope this article will now help you tile a wall like a professional!!


