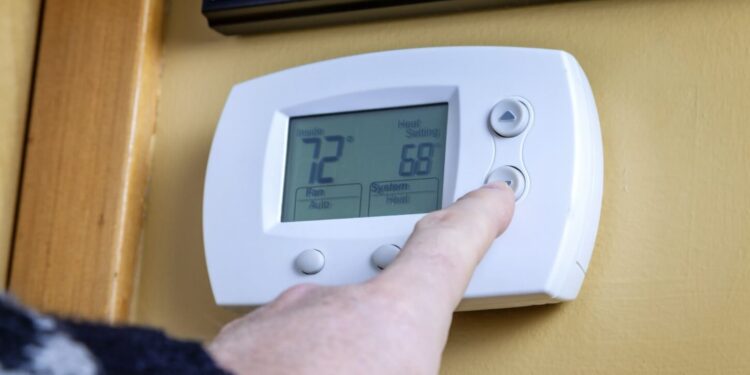
The Honeywell thermostats have become quite popular over the years among people because of the constant upgrade in features and ease of use. They have made lives much easier and allow homeowners to not be stressed regarding the home HVAC system among other pressures of professional and personal life. However, while many homeowners buy Honeywell thermostats they are unaware of how to reset them. It is not a difficult task to reset a Honeywell thermostat
Each model of Honeywell thermostat has a different reset mechanism. The model reset function is simple, but it requires certain steps to reset the model. Here are some quick reset tips that apply to most Honeywell thermostats.
The T series
- Make sure that your smart thermostat is switched on.
- Press and hold the menu button for a few seconds
- Reset using the scroll button.
- The button should allow you to scroll to the left.
- Select the RESET option
- Select factory as you see it
- You will get the message if you are sure
- Press yes
- T5, T5+, and T6 can be reset this way.
If the Honeywell thermostat does not have a dedicated reset button. Most Honeywell thermostats require a few little steps to access the reset function. Each model has its own instructions, whether programmable, WIFI compliant, or non-programmable thermostat. However, there are hacks that can be used with Honeywell’s battery-powered thermostats.
Turn off the thermostat and carefully remove it from the wall plate. Then remove the battery. The battery cover can be removed with a coin. Insert the battery in the opposite direction. The positive side of the battery should be connected to the positive side of the thermostat’s battery slot. The downside should look the same. Leave the battery in this setting for at least 5 seconds. Remove the battery. Insert the battery correctly so that the negative electrode of the battery corresponds to the positive electrode of the battery compartment. The reverse is also true. The thermostat is switched on by default.
The 2000 series
The Honeywell 2000 series is a further development of the 1000 series. These were part of the first Honeywell programmable thermostat and soon became a favorite. If you own a Honeywell 1000 series thermostat, there is little else you need to do to reset the new thermostat. The 2000 series has a reset process similar to the 1000 series. The RTH2300 and RTH221 are one of Honeywell’s 2000 series thermostats’ most popular models.
Set the Honeywell thermostat to “OFF”. Then turn off the circuit breaker. Remove the Honeywell thermostat from the wall plate. The thermostat has two double-A batteries. Remove the battery. Reverse the polarity and install so that the positive and negative electrodes are aligned with the positive and negative electrodes of the battery compartment, respectively. Place the thermostat in this position for up to 5 seconds. Remove the battery. Place the positive and negative electrodes in the correct polarity so that they are aligned with the negative and positive electrodes in the battery compartment, respectively. Honeywell thermostat switches on automatically. Reattach the thermostat to the wall plate and turn it on through the switch box.

The 4000 series
You can rarely find these as some of them are no longer in production, but the Honeywell 4000 Series Thermostat is one of the first programmable thermostats on the market. The display and screen are upgrades from its predecessor, the 1000 and 2000 series. This reset method works with these Honeywell thermostats.
Make sure the Honeywell thermostat is switched on. Make sure you have a pencil, pen, or other fine, pointed object. Remove the access cover to access the access board. Press and hold the PROGRAM button.
Hold down the program button and use the stylus to reset the thermostat. Release the PROGRAM button. After reset, use the up and down arrows to reset the clock and reprogram the thermostat. It is important to warn that main power supply voltage controls the thermostat. Therefore, there is a risk of electric shock if the reset pen is attached or inserted. To avoid the risk of electric shock, use a pointed object with an insulated cap.
The 7000 series
The Honeywell 7000 Series Thermostats are a series of programmable battery-powered wired devices. However, if you upgrade from the 1000 and 2000 series to the 7000, you should use the same approach. This method works with most of the 7000 series models. Make sure the thermostat is turned off. Turn off the circuit breaker. Remove the thermostat from the wall plate. Remove the two AA batteries that power the thermostat. Insert a battery with reverse polarity. The positive terminal of the battery should be in contact with the positive terminal of the battery compartment of the thermostat. The negative terminal of the battery should be in contact with the negative end of the thermostat’s battery compartment. Leave the battery installed for 5-10 seconds. Remove the battery and insert it with the correct polarity. Make sure that the positive electrode of the battery contacts the negative electrode of the battery compartment of the thermostat. The reverse is also true. The thermostat turns on automatically.
Final Thoughts
This article describes how to reset the thermostat for some specific thermostats by Honeywell. You may be using another model that is available in the market. The instruction manual that comes with the thermostat usually has these details but if you don’t have it then you can check the internet for details. Not only for the thermostat but you can easily find details regarding other similar products like the Honeywell Home Smart Room Sensor.


