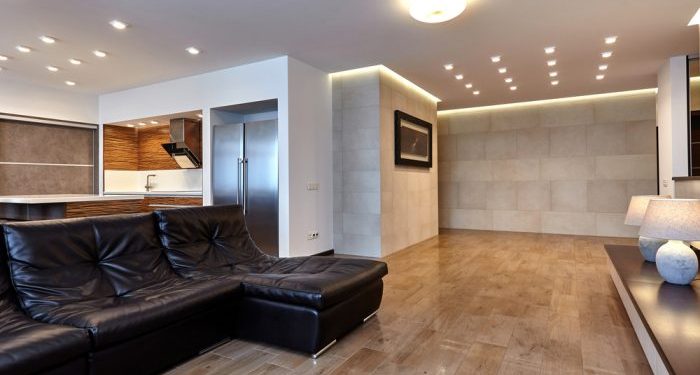
Recessed lights recess into the ceiling and provide functional lighting. They are discreet light fixtures used in homes or various interiors for general, task or accent lighting. They are versatile and make an impressive addition to any room in your house. Recessed light fixtures can install in both new or remodelled ceilings. They are comparatively easier to install in place of old fixtures or Insulated ceilings.
Here is a small guide on how to install led recessed lights in your home
Tools required:
❏ drywallsaw
❏ drill with the hole-saw bit
❏ pliers
❏ screwdriver
❏ recessed lights
Step 1. Switch of the power supply
Switch off the power supply first. Then begin with the process to avoid any potentially harmful situation.
Step 2. Select the housing
The recessed light housing is available in two styles.
- For new construction:
Such lights are bulkier and have an outer frame that can be fixed from above the ceiling. However, they are easier to work with but are not compatible with ceilings where the access from above is restricted.
- Remodelledhousing
Remodel housing is installed by wiring the fixture first, then the housing is pushed in from below. Remodel housing is usually the more comfortable option when retrofitting recessed lights.
Step 3. Remove Old housing
Unscrew the old fixture/housing and its junction box. Cut the joists, avoid damaging the wire.
Step 4. Measure the hole size
Using the template provided with a new fixture, you can measure the hole to be cut out in the ceiling with the help of the recessed fixture diameter. If replacing an old fixture, the existing hole’s size may dictate the size you select for your new recessed lights. The most common sizes are 4″, 5″ or 6″in diameter.
Step 5. Cut the hole
Using a drywall saw or a drill to cut a hole, carefully cut along the traced circle. Trim will cover the edge of this hole, but it should be smooth, especially with older ceilings where drywall may be brittle and prone to breakage.

Step 6. Connect and secure the wiring
Fish the wiring from above the ceiling, then connect it with the new fixture carefully. Open the junction box on the fixture, clamp the wires from ceiling to box. Each wire is colour coded as black, white and a bare ground wire. Use wire nuts to pair the wires together.
Step 7. Insert and Secure Housing
Insert the housing in the hole and locate the clips along the edge of the housing. Push the clips outwards with the help of a screwdriver until a click is felt to clamp and secure the housing to the ceiling.
Step 8. Attach the selected trim in the housing
Trim attaches to the housing with springs,sticks and slides the trim upwards until the trim flush against the ceiling.
Step 9. Fix the LED bulb
LED bulbs are available in unique designs, with varying colour temperatures for different colour tones. Please select the most appropriate one according to the fixture rating and compatibility and then fix it.
Turn the power back on and make sure not to exceed the circuit’s total wattage if you install recessed lights in a remodelled ceiling or place of old fixtures.


