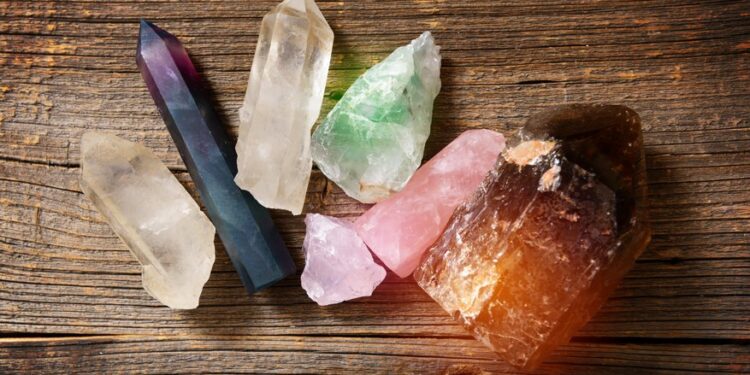
We associate crystals with elegance, charm, and healing. These natural gemstones are one of the most coveted and loved ornaments and decor. As you’ve probably noticed, most of the chandeliers you can see in luxurious hotels, casinos, and offices are from precious crystals.
These precious stones are indeed very versatile in their usage. As these lavish-looking stones are available for retail, many homemakers opt to engage in Do-It-Yourself projects. We have compiled some of the crystal projects that you can undertake while in the comfort of your own home.
Fairy-like Terrarium
You may have come across a garden terrarium before, but for those who have not, they are basically composed of a sealable glass container where you can put live plants. Think of it as a miniature greenhouse- the perk is that these terrariums can be mobile.
To achieve a fairy-like concept for your terrarium, you only need to include crystal points or clustered crystals. The best crystals you can use are amethyst, rose quartz, citrine, and blue calcite. Their brilliant hues can give off a mystical feel, and you can position them accordingly. You can also make the crystal points as a mini-castle tower.

Crystal Paperweights
If you want a project that is less flamboyant-looking but attracts a special kind of attention, then you can make your own paperweight using crystals. One of the more exciting paperweights that you can do is an orgonite pyramid. There are tons of videos that can instruct you how to make orgonite pyramids, but all you really need are your pick of crystals, metal shavings, mold, and composite resin. The beauty of making an orgonite pyramid is that you get to design the overall appearance of the paperweight.
Photo Holders
Are you bored of looking at framed photos on top of your mantle? You might want to change the frame and add a refreshing look to them. All you need for this ingenious craft are a couple of mid-sized crystal chunks, gold or silver colored wire, pliers, and photographs.
The first step is to create a loop at the top of the wire where you are going to place the photo. You can use scrap paper in place of the photographs to decide how tight the space is for the picture itself. Next is to measure the length you would like between the top coil and the crystal. It is up to you whether you want to shorten it or not. Lastly, wrap the wire around the crystal to serve as the base. Remember to pick a crystal that will be stable on a flat surface and which you cannot easily knock over.
There is also the option of finding a crystal geode and using its tips to hold a photograph. Or, if you have a large chunk of crystal, you can half slice it horizontally to fit the base of the picture.
Wrapping Up
There seems to be no shortage of DIY projects that you can do with crystals. We trust that you can consider the ones we have mentioned above and have fun while doing them.


