Keeping records of work done on construction sites can be a challenging task. It might be challenging to remember when and where images were taken, let alone where they were stored, when there are so many people working with so much machinery and equipment. However, the method of taking photos has improved as a result of the growing use of technology in the construction sector.
Physical photo albums give way to digital photos saved on local computers, then to photos saved on file sharing platforms, and lastly to 360-degree photos kept in the cloud for construction documentation. The latter has generated a lot of discussion within the business because, in 2018, 360-degree cameras overtook traditional cameras as the second-most popular recording tool on building sites. Below are the best practices for Efficient 360° construction documentation.


During construction work
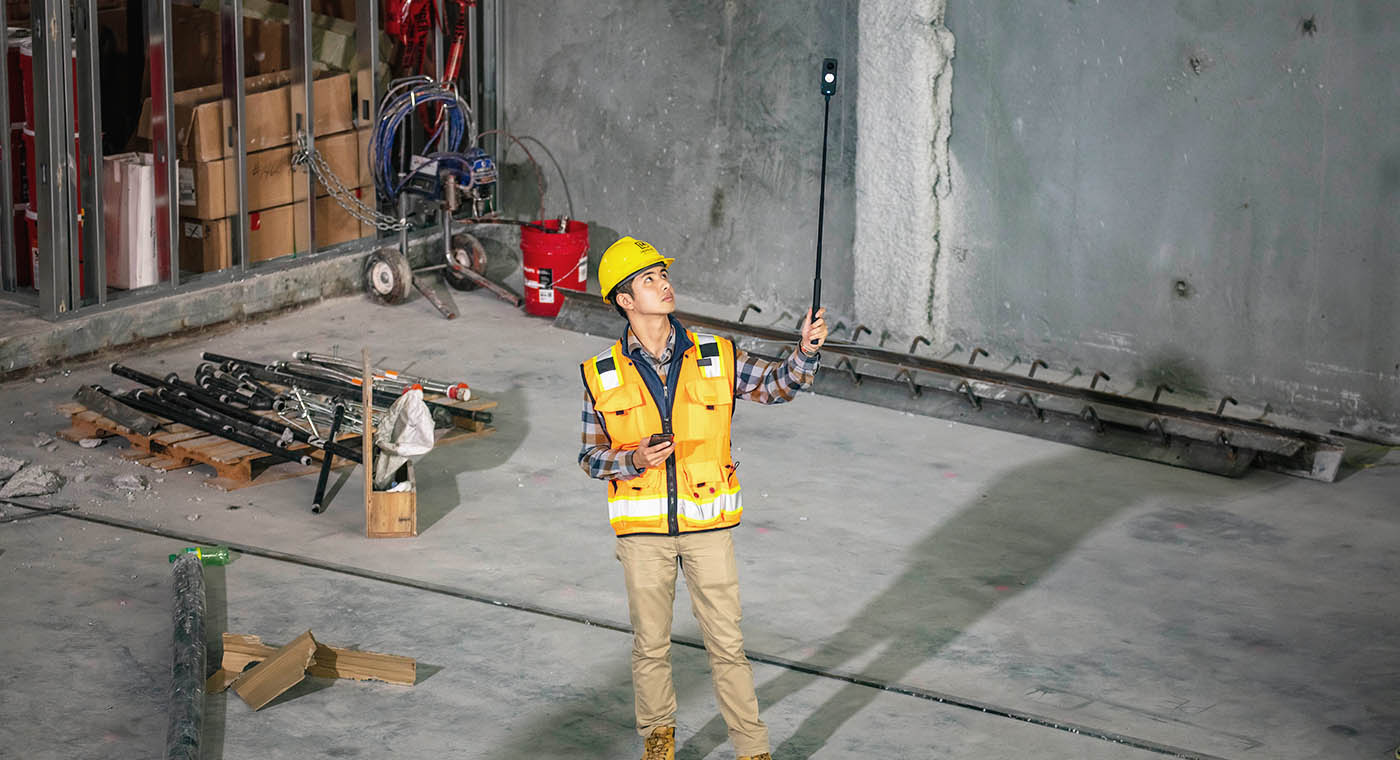
Camera positioning — 360° cameras work best when used with a portable, lightweight tripod that can be moved with just one hand. An unrestricted view of the area around the camera is possible while standing back while the pictures are being taken. Another option for getting a clear view is to hold the camera aloft or even on a monopod.
Photo Location – It is best to take photos in the same spot every time. Due to the surrounding environment changing as a result of continuous development, it can be difficult to pinpoint this area; therefore, physically marking the location of the camera/tripod with a marker could enhance consistency. Given that they will experience less wear, overhead markers might perform better. Marking the locations of the tripod and camera on a floor plan is also useful for static reference.

Lighting – If your site lacks permanent lighting, spend money on a suitable light source that will illuminate any dark regions that need to be photographed.
QA/QC: Assign a team member to check each batch of images once every several weeks to ensure that they are properly located and classified. Checking for these problems frequently is crucial since images may be accidentally captured or saved in the wrong place while on a walk and documenting the site.
CLOSEOUT
In the closing stages of a project, photo management and storage become important. At this point, if your organizational process has been neglected, it almost becomes unmanageable. At this point, pictures are required to review the work for final payment and to communicate with other pertinent departments. You can speed up the transfer of responsibility from your general contractor to the owners by taking the following actions.
Delivery –Deliver your images in a way that is simple for the client to use. Clients who are seeing photos with descriptions, markups, or IDs benefit from this. The use of software to transfer those photographs reduces the need for physical copies and frequently results in a satisfying client experience.
Provide Relevant Photos- Clients love seeing images of their site that are pertinent, even ones from earlier in the project’s lifecycle. Pictures taken before and after at the same spot may also be useful because they demonstrate development and increase their website’s prominence.


