You must have seen a pitting garage floor. It forms craters and deeper holes, making the garage surface sandy and rough. Cleaning the floor is hectic. Let’s walk together step by stepping and fix that pitted garage floor.
Work on a clean surface
Start with cleaning the garage surface. Wash the surface with water and grease, cutting household detergent. Soak up a fresh oil spill with granulated cat litter before sweeping. Scrub the floor thoroughly with a stiff brush. Rinse with clean water from a pressure washer. Observe the floor when cleaning. If the water forms small droplets on the surface, then your floor has a concrete sealer. Apply a stripper. For more stubborn stains, elbow grease or hydrogen peroxide will go a long way. Use muriatic acid for rust stains.
Determine the depth of the pits and fill cracks


Sharpen the tip of a pencil to a length of ¼ in. Use it to determine the depth of the pitting. Circle them. Tap lightly all over the floor with a hammer and listen. Hollow areas that are a hotspot for future pitting will produce a hollow sound. Smash them open to expose the pitting and fix them together with the rest of the pitted floor Epoxy Floors in Cape Coral
Fill any holes deeper than ¼ in first with a stiff batch of concrete repair mortar, bringing it to the same level as the rest of the pits. Chisel out cracks to remove all the unstable and contaminated materials. Clean out the gap with a wire brush and water and let it dry. Use an epoxy-based sealant to fill the crack before proceeding with resurfacing.
Make a dam
This step is essential if you’re are repairing large areas of pitting. The resurfacer should not spread over healthy areas. Create a dam to prevent staining healthier concrete with the repair mortar. Stick a weatherstrip with glue all around the edges of the repair area. Stick plastic shitting to the nearby walls if you are working close to the walls. Protect control joints if present with a weatherstrip.
Actual resurfacing
Put the compound mortar into a bucket and mix with water, following the manufacturer’s instructions. A powerful mixing drill will make the work easier and give you a smoothly mixed repair mortar. We would advise you to get someone to help with the mixing as the repair compound will stiffen quickly. The speed of stiffening is dependent on the prevailing weather conditions. Repair mortar sets fast under hot temperatures before you’re even done with finishing.
Pour the mixture on the pitted surface and start spreading from the middle of the puddle using a powerful squeegee. Get a beefy version made with construction in mind as opposed to window cleaning. Use moderate force to push the squeegee forward and spread the mortar as far as the dam. Force the repair mortar into the pits and craters. Smooth the repair mortar by pooling the squeegee towards you. Ensure you work out the area such that the repair area blends smoothly and nicely with the rest of the garage floor. Trowel excess compound into a bucket.
For a rough anti-slip finish, drag a clean broom on top of the damp surface after letting the compound set for five minutes. Inspect the surface. If the pits still show, apply a second coat later in the day after the first one has set. The repaired surface should support foot traffic after several hours. Let it cure for at least 24 hours before driving on the res.
Correct your mistakes
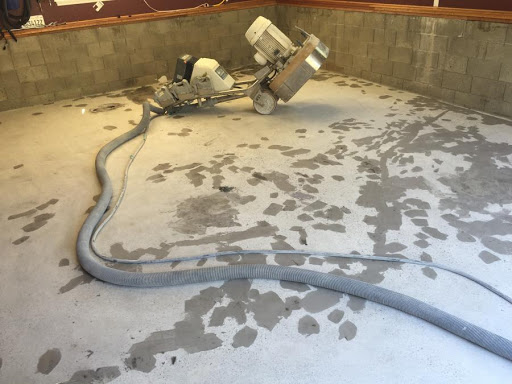
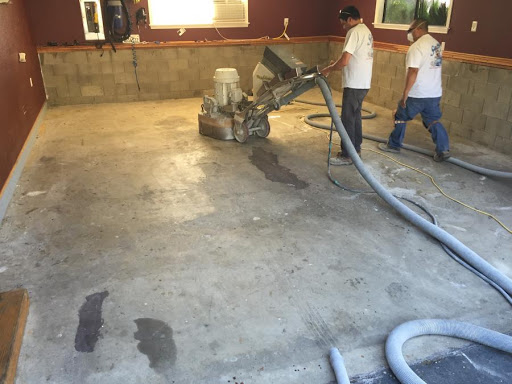
You may end up with some repair material stuck on the healthy concrete, shallow craters, ridges, and squeegee marks. All is not lost. You can erase these mistakes. Get a concrete grinder from a rental store and grind down the protruding spots for an even smooth finish. Lastly, you can apply an epoxy-based sealer as a finisher.
Additional Tips
To get a smooth lump-free mix, let the repair mortar sit in the bucket for few minutes after the initial mix, otherwise called slaking. Follow the manufacturer’s promptings on the product’s label for additional hot weather misting procedures or extra time for hardening during cold weather.
Fixing a pitted garage floor can be done if you are patient, have the experience, and the equipment. Follow the steps spelled down in this article next time you’re fixing that pitted garage floor.


