Hard water is the type of water that consists of an excess amount of minerals including magnesium and calcium. This form of water occurs in just about any water source from around the world.
Although it doesn’t necessarily cause any physical harm or illness, hard water does result in several difficulties at home when it comes to bathing, washing dishes, or using appliances. The heavy sediments in the water supply will prevent soap or shampoo from lathering up, thereby making it difficult to wash dishes, clothes, or even take a shower.
Hard water can also lead to serious issues in factory settings, where it can result in costly breakdowns of cooling towers, boilers, and other types of equipment.
Therefore, your only solution to this is to soften up this hard water. But before you do that, you need to test and measure the level of hardness in your water supply so you can take the next appropriate steps to soften it. Fortunately, this article is the very resource that can help you do just that.
How to Measure Water Hardness
Water hardness can be measured in several units, including milligrams of calcium per liter, parts per million, or grains per gallon. A professional way of measuring water hardness is to take a sample of your water supply and then send it over to a water test lab. However, this method may not be for everyone as it’s not only relatively expensive, but it also takes time before the results come out. The good news is that it is possible to measure the hardness level of your house’s water supply and you’ll find some of the best solutions here in this article.

Here are some of the best ways to measure water hardness from your own house:
1. Use Soap
The first thing you’ll need to do is take a bottle of glass or plastic bottle and fill approximately 350 ml of cold tap water. For the time being, you’re going to have to leave the bottle open without sealing it off with a cap.
Now take some liquid dish soap and add about 10 drops of it into the bottle filled with water. Remember never to squeeze too little or much as it’ll be difficult to read the test results. After filling in the soap into the bottle, put the cap back on your bottle and be sure to seal it real tight to prevent the soap from leaking out. Now vigorously shake the bottle up and down as many times as you want so that both the water and the soap are thoroughly mixed together. Set the bottle down after a couple of seconds and then have it settled for five more seconds.
2. Test Kit
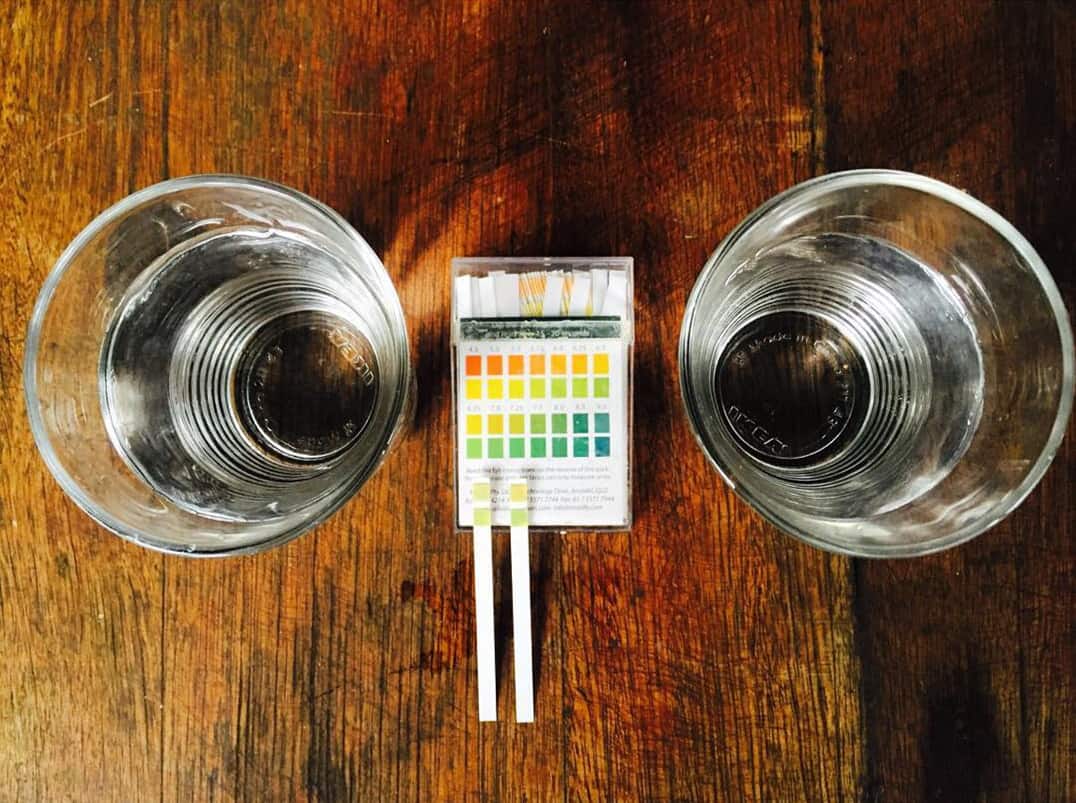
Another way to test water hardness is by using a test kit and the various testing methods and procedures that come with it, including basic plastic test strips. These strips come with a chemically-tested pad, which offers a quick and easy way to measure the hardness of your water supply and also confirm that your water softener is functioning properly.
Instrument Measurement
You can start this by using a colorimeter in which a white beam of light passes through an optical filter. Typically, the screen would send a certain color of light towards the photodetector to offer the appropriate readings.
To know what kind of colored light you’ve obtained Premier sample, a difference has to be notified in the level of colored light between a colored and blank sample. Upon using the colorimetric test you’ll notice the amount of light that has been absorbed has a link with its concentration.
Test Strip Measurement
Test strips are usually made of plastic, with pads that are chemically impregnated at the end. The pads have been made to respond to certain ions and then show us a certain color change.
Once you get the result and see whatever color is shown, that result needs to be compared alongside a color chart. This color chart has been made especially to help compare color reactions at several concentrations. The closest color that your results match up with on the chart will give you the desired reading you’re looking for. To get a deeper understanding of water hardness, read this post.
3. Use a Test Meter
Test meters are used to pick up the number of solids or minerals that are in the water supply. Look for the “On” switch that’s close to the test meter’s display and for a couple of seconds push down on it. After between two or three seconds, the display lights up and reads “0.0.” This serves as an indication that you can now use the test meter.
Now remove the plastic cap off of your test meter so that its notched end shows up. This end allows you to test the water hardness levels. Now take a tiny cup and fill it with water halfway through so that the meter’s end can be submerged. Submerge the entire notched end of your test meter to accurately measure the water hardness.
Now all that’s left is to check the readings that you get on the display of your test meter. Write down the number that is shown on the display as the meter is currently submerged into the cold water. This number will indicate how soft or hard your water supply is in parts per million. If the reading shows 60 PPM or more, it indicates that you have hard water and need to make improvements to preserve the appliances and pipes.


