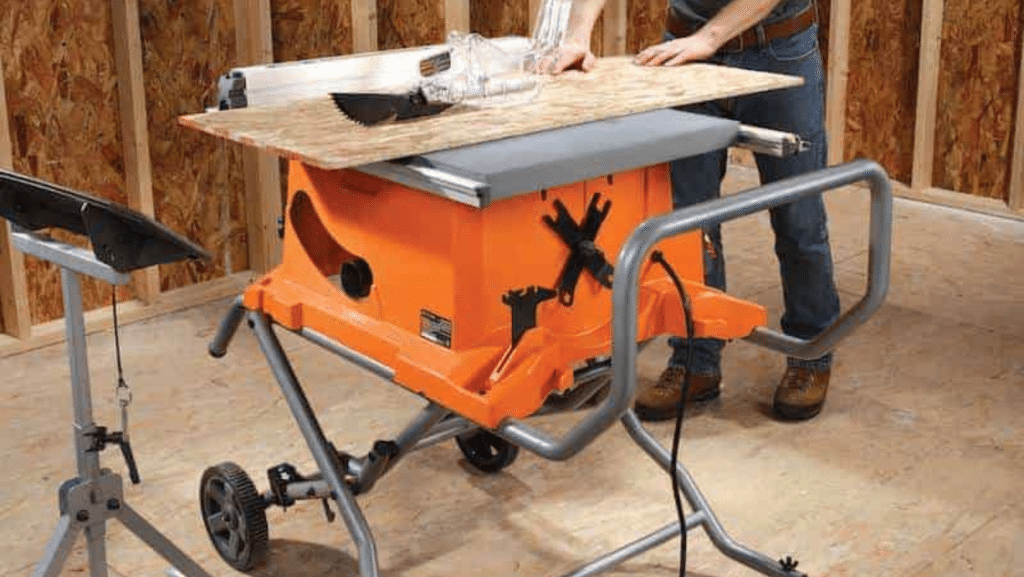
The table saw is an indispensable tool that many hobbyists and professionals consider the heart of a woodworking workshop. This is the machine you need for cutting boards precisely and cleanly. In addition, many table saws come with in-built platforms that help support your workpiece to ensure a smooth and precise cut.
However, your workbench may require an extension that enables you to work with longer boards — this is where a table saw stand comes in. A table saw stand refers to a mount for circular saws that are electrically driven and have gears or a belt. You can learn how to build one in this detailed Cutting HQ blog post.


In this article, we provide a quick run-down on how to build a table saw stand. However, before then, here are the materials you will need to construct your table saw stand:
- Measuring tape
- Nail gun/hammer
- Nails
- Drill
- Screws
- Sandpaper
- Sander
- High-quality wood board
- Plywood sheets
- Wood glue
Portable or Static: What’s Your Preference?
When constructing your table saw stand, you must determine your preference. There are two major types of table saws: stationary and portable table saws.
A static table saw stand is an excellent option if you consistently work in the same place. It’s the perfect choice for a home woodworking workshop. However, it doesn’t allow for flexibility — moving it around can be challenging.
On the other hand, a portable table saw stand allows you to pack up in a pinch since it’s lightweight, compact, and constructed without fasteners.
Our 10-Step Method of How to Construct a Table Saw Stand
Let’s cut to the chase. Here’s a summary of how to put together a table saw stand. Since it’s a summary, it may not be as detailed as the blog post highlighted earlier.
Step #1: Cut the frame.
Take an 8-feet long, 2×4 board and cut it into two distinct pieces of 4 feet. They’ll be used for the stand’s frame.
Step #2: Cut 3-foot pieces.
Get the other 6-foot long, 2×4 board and cut it into two pieces. Ensure they’re not more than 3.9 feet each.
Step #3: Cut legs for the table.
Use another 4×4 board and cut them into four pieces, at most 3 feet each. They’ll be used for the table’s legs.
Step #4: Put the frame together.
Get hold of the four pieces of the 2×4 board and use them as the stand. Position the two boards parallel and at least 4 feet from each other. Then insert the 9-inch board between the two boards to form a square-shaped frame measuring not more than 4 feet.
Step #5: Fix the frame.
Use 2½-inch screws to attach the frame by driving them through the ends of the 4-feet board onto the smaller board.
Step #6: Fix the top of the table saw stand.
This is where the square plywood comes in. First, take the plywood and place it on top of the frame you just created in the previous step. Next, make use of the 1½-inch screws to fix the frame. Drive each of the screws at least 6 inches around the edge of the frame.
Step #7: Assemble the legs of the table saw stand.
Get hold of the pieces of wood you cut during step #3 and attach them to the frame. Fix the legs firmly and securely by placing a 3-foot, 4×4 piece of board against the insider corner of this frame. Secure the leg to the frame using the 2½ -inch screws. Ensure you use the two screws on each side of the frame.
Step #8: Fix the legs of the stand.
Fix all the legs to the frame using the method described in the previous step. You must use two screws on either side where the leg comes in contact with the frame to end up with a sturdy table saw stand.
Step #9: Set the table saw stand upright.
After fixing the legs to the frame, set the table saw stand upright to check its sturdiness.
Step #10: Add reinforcements.
Drive two of the 1½-inch screws into the tabletop on each corner of the table saw stand until they go down into the table legs. This is to ensure the table saw stand is as sturdy as possible and strong enough to bear whatever woodworking project you may be working on.
Smoothen the places where you cut the wood using pieces of sandpaper to have a clean finish.
Conclusion
As you can see, constructing a table saw stand isn’t rocket science. However, it may appear more complex than outlined in this post, especially if you’re not a professional. Nevertheless, this post gives you an idea of how to put together a befitting table saw stand.


