So, you have bought yourself a carport kit and you’re about to start building. Great, let’s talk about what you need to do, the tolls that you will need, and how to finish off your carport so it looks like a professional finish.
If you are searching for a good quality carport kit; check out this website


Firstly, let’s get your tools organised. You are going to need the following tools to get the job done.
- Tin sips
- Drill
- Masonry drill piece
- Rattle gun or socket wrench
- Ladder
- String-line
- Measuring tape
- Pencil
- G clamps
- Level
- 75mm round hole drill piece
Okay, let’s get started.
Step one
With your carport kit, you should have received layout drawings and slab and or footing layout.
Mark out onto the ground where your bolt-down footings will be secured. Start with a general mark and then measure each corner to corner to get them into the correct position. Next, measure from corner to corner to ensure you are square.
If you are digging holes and pouring footings, start digging in the correct locations as mentioned above. Ensure the hole is deep enough, usually, you will require a 500mm deep hole to insert a column into it by 400mm. Good practice here is to dig the 500mm deep hole and ensure the hole has a nice neat ottoman surface for the post to sit on. Don’t rest your steel post directly into the earth, throw down some rocks to sit it on and raise the post by 100mm to get your 400mm depth. Get your first column into the ground and brace it into position. Using your g clamps, clamp a timber piece to the column, and secure it to the ground with a star picket or something similar, do this to two sides of the column, and this should now be secure. Follow the same procedure with the remaining columns, ensuring you measure your locations and position your columns to line up and match your slab and footing layout drawings that were supplied with your carport kit.
Your columns would usually come cut to length, depending on the height you purchased. It’s good practice to get your heights right before you pour your concrete.
Now it’s time to pour your concrete in, this is your last chance to check measurements, positioning, and of course leveling. Ensuring each post is lice and level.
If you are using bolt-down footing brackets to secure onto the concrete, then the same theory applies for positioning and bracing the columns.
Once your columns are braced, position your footing bracket into position and mark out two opposite side holes. Remove the bracket and start drilling the holes using your masonry drill piece usually 16mm but best to check the size of your bolts first.
Important: Do not drill deeper than your concrete thickness, and blow the hole out to remove any dust.
Follow this process for all four holes and then screw your screw bolts in and secure your bracket accordingly.
Follow this process for all of your columns until all columns are standing and ready for construction.
Step two
Now that your columns are in place, take your two side bearers and lay them next to where they need to go.
This is much easier with two men, but take one end and lift into position, insert one bolt. Move to the opposite end and lift that end into position and bolt to secure. Now complete all bolts for this bearer and do the same for the opposite side bearer.
Step three
Take your rafter brackets from the box of brackets and position them onto the inside of the bearer with the inside of the bracket to pour upwards in the same direction as your rafters will go.
Take your rafters and apex brackets and lay them out in the ground. Start bolting them all together to make your trusses. Now that these are bolted together securely, lift one end into position, bolt to secure, and then lift the opposite end into position.
You will need to brace it so that it doesn’t flip or lean to one side. Using G clamps and Timbers, brace the rafters accordingly.
Follow this process until all rafters are bolted together and secure.
Step four
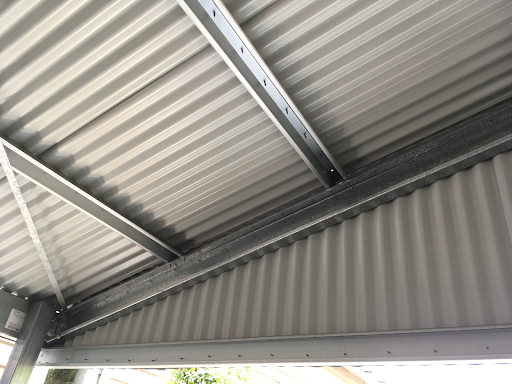
Take your top-hat steel sections to make up your roof battens or roof purlins, depending on what you want to call them.
Position them onto your roof, marking them out and securing them using the measurements and spacings provided on your layout drawings. Using the screws provided, screw down and secure. This will brace your entire roof.
Ok, it’s now starting to look like a carport!
Step five
For this step, you are going to need two people to ensure your safety.
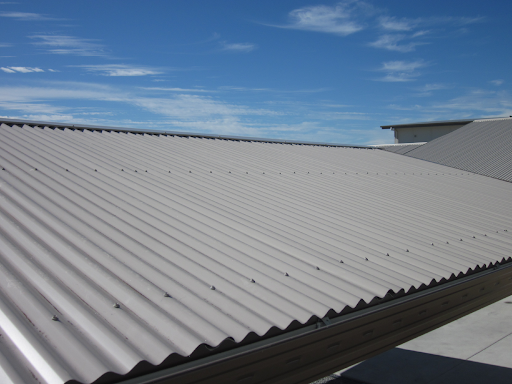
With one person on the roof, have another person take your roof sheets and pass them to you, starting at one end, lay the roof sheets into position.
Screw down your roof sheets neatly using the roofing screws provided with your carport kit. Follow this process until all sheets are secure. This is the same for skillion or gable roof carport kits.
If gable, now position your ridge cap to cover the gap timing down the center ridge of the carport roof. Secure with roofing screws.
Step six
Attaching your gutter brackets.
Mark out with a string line and pencil where your gutter brackets are to be positioned and screw them in with the wafer screws provided with your carport kit.
Repeat this process for both sides. Hold up your gutters into position, the gutters are designed to simply clip into the brackets which you have already installed. Clip the gutters into position.
Now, pop rivet your gutter brackets to your gutter on the underside.
Now there will be stop ends for your gutter, add the stop ends to the gutter ends and pop the rivet into place. Use silicon to ensure the end caps are sealed and do not leak.
Now take your end Capp flashings or barge capping and position it into place, using pop rivets, secure it into place and make any cuts your may need on the apex and base to ensure it sits nicely into position.
You may want to cut the flashing around your gutters to give them a professional finish.
You will also have a dropper and downpipe included, the dropper is a round piece of gal, which sits at the end of the gutter for the water to exit through to your downpipes. If you have a gable carport kit, there will be two of them. Drill a round hole in the gutter end and insert a dropper with silicon.
Then attach your downpipe, it’s best to install your down pipes in line with your end columns. Downy forget to have a gradual fall of 20mm over 6m to allow for water runoff.
Congratulations, you have now completed your carport kit like a true professional.


