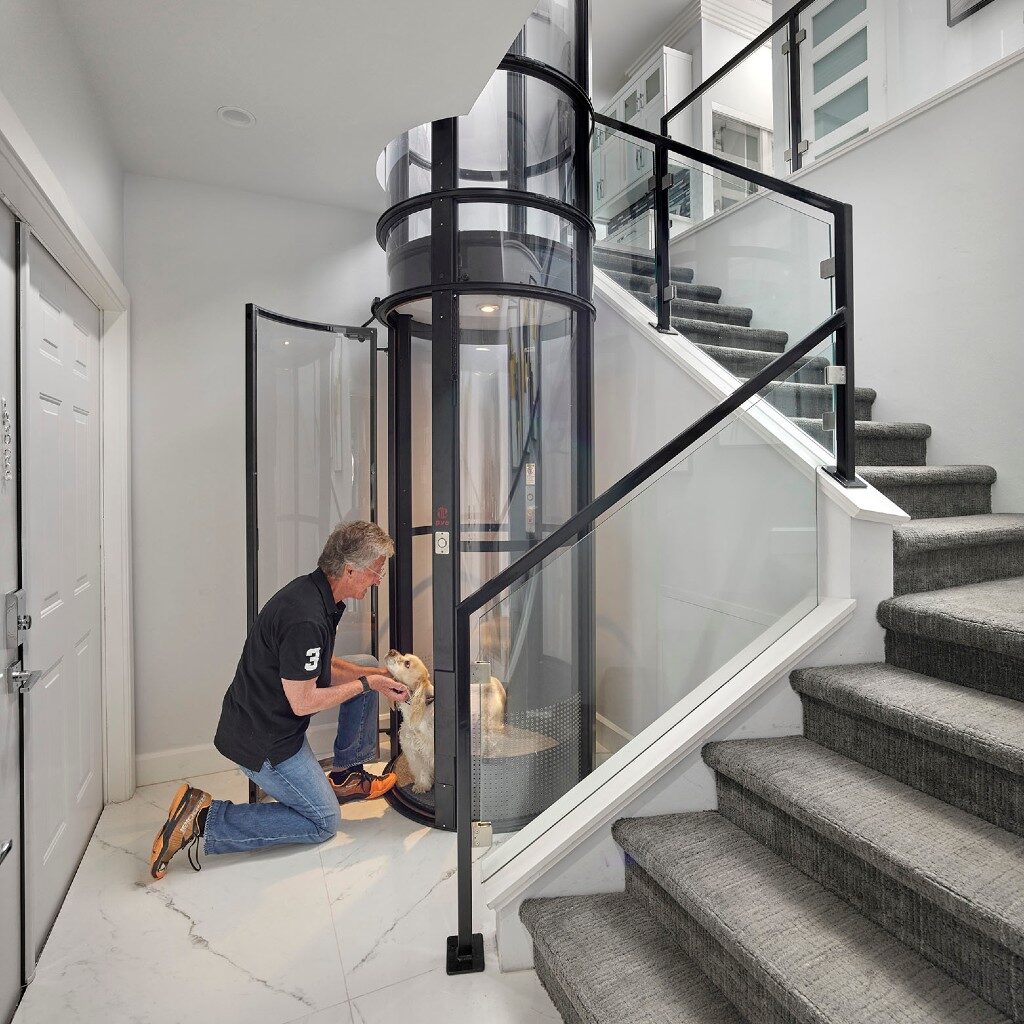
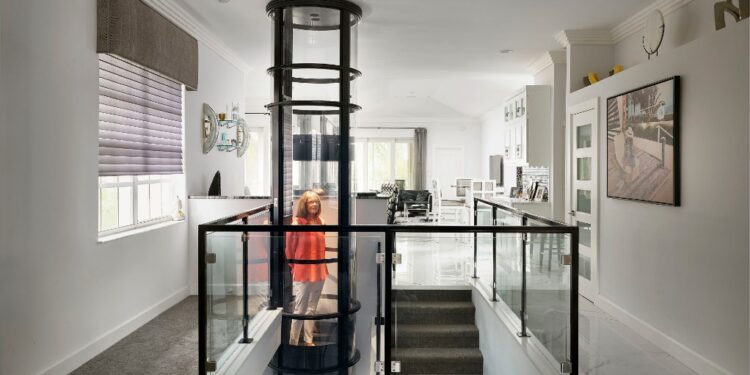
Home elevators provide a convenient, safe, and reliable way for people to move between floors of their home. They offer an alternative to stairs and are especially beneficial for elderly or disabled individuals who may have difficulty navigating stairs.
Home elevators also add value to a home, making it more attractive to potential buyers. They are available in a variety of sizes, styles, and colors to fit any home décor.
Schedule The Project
Before you begin any work on your home elevator installation, it is essential to contact an elevator contractor. This will help ensure that your project is completed safely, correctly, and in a timely manner. A professional elevator contractor will be able to provide the best advice and guidance to make sure your installation is a success. They can also provide you with an estimate of the cost and timeline for the project.
Secure The Necessary Permits
Once you have a contractor on board, it is important to secure the necessary permits for your home elevator installation. The exact types of permits you need will depend on your location, as different states and municipalities have different code requirements. Your contractor can help you determine which permits you need and take care of the paperwork.
Pre-Installation Construction
Before any work can begin on a shaftless home elevator installation, certain pre-installation construction must take place. This includes the assessment and reinforcement of the structure where the elevator is to be installed. This may involve the use of a professional engineer to ensure that the structure can support the weight of the elevator and its components.
In addition, the area around the elevator must be cleared of any obstructions and the walls should be reinforced to accommodate the desired shaftless design. Flooring must also be carefully checked for any sloping or uneven surfaces and repaired if necessary. Any electrical wiring must be checked to ensure it meets local codes and can power the elevator safely.
Installation Process
Once all pre-installation construction is complete and all necessary permits have been secured, the contractor will begin the installation process. This usually involves the installation of the elevator car and its components, such as the guide rails and motor.
The contractor will begin by attaching the guide rails to the walls, using lag bolts and other appropriate fasteners.
The motor, which is responsible for powering the elevator, is then attached to the wall and connected to the power source. The motor must be placed at the appropriate height, ensuring that the elevator car has enough clearance to travel up and down the guide rails. The contractor will also inspect the wiring to ensure that it follows local codes and is properly connected to the power source.
The elevator car is then attached to the guide rails and the motor, ensuring that it is securely fastened. The car is then connected to the elevator’s control panel, which is typically located near the floor of the elevator. This control panel allows the user to control the movement of the elevator car, including speed and direction.
Once the car and its components are in place, the contractor will securely fasten any safety features, such as the emergency stop button and phone. The contractor will also inspect all of the wiring, making sure that it is properly connected and not exposed. The contractor will also test the elevator’s functions, ensuring that it is operating correctly.

The final step of the installation process is to install the elevator doors. This usually involves attaching the doors to the car and the framework, as well as ensuring that they open and close properly. Once all of these steps are complete, the contractor will inspect the entire installation to ensure that it is functioning correctly and safely.
Post-Installation Testing
Post-installation testing is a critical step in the home elevator installation process. Safety features must be tested to ensure they are functioning correctly and that they are properly installed. This includes emergency stops and phone buttons, as well as other safety devices. The speed and operation of the elevator must be tested to ensure that it runs smoothly and quietly. All wiring should be checked for any exposed wires that could be a danger to the user. The elevator car must also be inspected for any irregularities in the door seals, as this could lead to dangerous air pressure changes. Finally, any sensors or alarms that are part of the elevator must be tested to ensure they are working correctly.
Once the testing is complete, the contractor can then install any additional safety features. These can include fire-resistant panels and emergency lighting, as well as smoke and heat detectors. Emergency stop buttons must be placed at the entrance of the elevator, as well as near the elevator car. All safety features must be clearly labeled and must be tested regularly to ensure they are functioning correctly.
Finally, the contractor must ensure that all of the components of the elevator are securely fastened and that any exposed wiring is properly insulated. The contractor should also check that all of the wires are correctly connected, as a loose connection could cause a fire or other dangerous situation. Once all of the post-installation testing is complete, the contractor can then sign off on the installation and the home elevator can be used safely.
Elevators are an essential component of any building’s infrastructure, ensuring that people can access different levels of their abodes without difficulty. However, not all elevators are created equal – some are more ample in size than others; while others may lack a requisite number of steps leading up to their landing level while still providing adequate space for occupants’ comfort.
A shaftless home elevator offers more benefits than its counterpart: it provides ample space for those who will be traveling within its confines and allows for greater accessibility by providing extra steps at its landing level.


