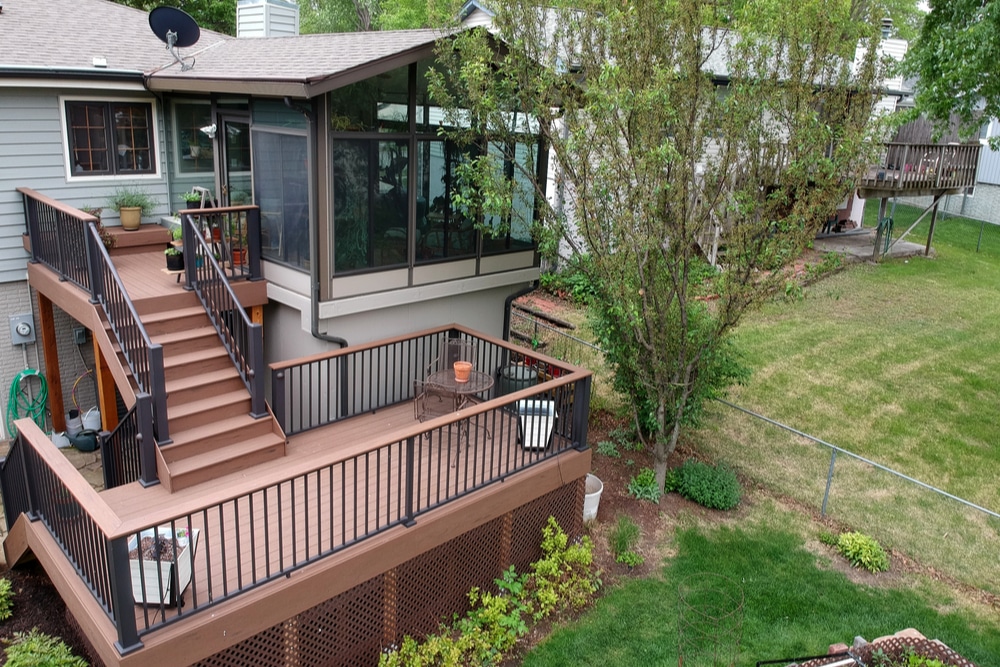
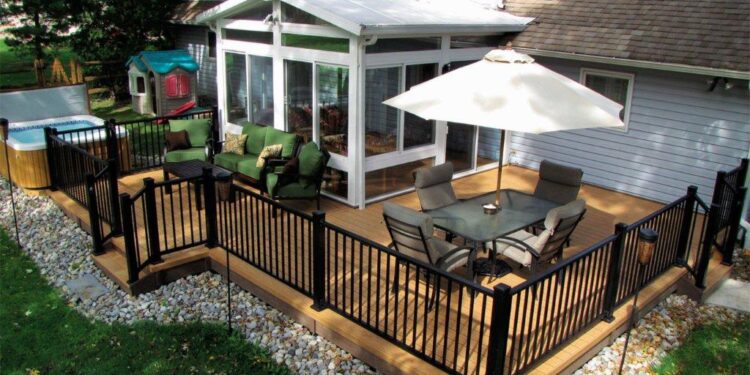
That’s a mighty fine deck you’ve got there. The only thing missing is an equally magnificent deck railing to bring it all together. Outdoor deck balusters, or deck railings as we’re going to refer to them, are more than just a fashionable outline for your outdoor oasis. They’re a safety railing for your deck that will prevent anyone from falling over the other side.
A mainstay in architecture since ancient times, deck railings are an essential part of your DIY project, constructed from a myriad of materials, including stone, steel, timber, and our favourite, aluminium.
The straightforward installation process makes aluminium deck railing systems the superior choice for your DIY safety railing. Unlike masonry, steel or timber, pre-fabricated aluminium can be assembled in a matter of minutes, eliminating expensive field labour. Endless lead times for woodworking or welded steel are a thing of the past with aluminium deck railing systems.
Now it’s on to the main event: assembling your deck railing.
How to build a railing on your deck?
The example we’re going to use today is from Ultralox Interlocking Technology. First launched in the US, Ultralox produces beautiful and durable railings available in easy-to-install, convenient kits and customised aluminium deck railing systems that will make your projects stand out from the crowd.
For now, we’ll focus on the easy-to-install residential safety railings for your deck. Utilising patented interlocking machines and premium pre-powder-coated aluminium, it’s deck railing you can put together in a single afternoon.
With instructions from their website, alongside a handy aluminium balustrade installation video, let’s teach you how to build a railing on your deck with Ultralox.
Safety first
Regardless of who you choose to supply your deck railing from, it is highly recommended all applications be reviewed by a licensed architect, engineer or local building official before installation.
Deck railings should also be installed using the same building principles for installing wood, composite, or metal safety railings, per local building codes and the installation guidelines included below.
Equipment needed
Building any deck railing requires tools and safety equipment.
- Pencil
- Safety glasses
- Level meter
- Tape measure
- Cordless drill
- Miter saw with a non-ferrous blade
- #2 Square Drive Bit
- 5mm Drill Bit
- Touch up paint
- Post Fasteners (for mounting posts to the deck surface)
Panel selection
Each panel selected should be best suited to the measurement between posts or efficient use of a single panel across multiple sections.
Panel Sizes are as follows:
- 1.8m (1830mm actual size)
- 2.4m (2430mm actual size)
75mm x 75mm post installation
You must install the 75mm x 75mm posts on both sides of a deck railing panel, including any decking area (external and internal corners) that requires a railing.

There are two options to install your posts.
Option 1: when no lower rail clip jig is available
- Measure 73mm from the top of the casting shoulder
- Mark position for the location of the top edge of the rail clip with a pencil
- Centre clip-on post and secure with (2) – #8x20mm self-drilling screws
Option 2: lower rail clip jig
- Place lower rail clip jig on top of the base plate upper edge with the arrow facing the base blate (down)
- Place clip inside the hole and fasten with (2) – #8x20mm self-drilling screws
Install proper post blocking under each screw location
Using a 5mm drill bit, pre-drill through the deck boards and into blocking. If you plan on installing post cap lighting, drill a 16mm hole in the centre of the four-deck screw holes to feed lighting wires.
NOTE: complete wiring before securing posts to the deck surface and installing top rail profiles.
Installing level and plumb posts
- Secure posts to deck with suggested screws. Do not install post caps and two-piece baseplate covers until you have installed all deck railings.
NOTE: Leave a maximum gap of less than 100mm between the post and the wall for posts at all end locations.
- Place the first post on the same 75mm centerline and temporarily fasten using a single fastener through the base plate mounting hole.
- Place the second post on a 75mm centerline before temporarily binding it to the deck surface.
- Use one 22.5° Balustrade Attach Kit (purchased separately) to install 45° corner posts.
- Loosely lay centre posts over the deck railing edge
- Adjust as required to determine final centre post mounting locations
Once all posts are secured, it’s on to installing the preassembled level deck railing.
Preassembled Level Deck Railing Installation
Bottom Channel
- Clamp or hold the deck railing against two posts and adjust for equal end spacing.
- Mark the top and bottom rails and cut the balustrade 2mm less than the opening size (1mm on each end).
- Clean cut areas and apply touch-up paint on exposed ends.
- Slide the bottom channel of the pre-cut railing onto the lower clip
- Insert clips into the top track of the deck railing on each end.
NOTE: bottom clips out inside the aluminium deck railing system.
Clips to Posts Attachment
- attach the upper two clips to the post with 4 #8x20mm self-drilling screws
- secure the upper and lower clips to the railing with 8 #8x20mm self-drilling screws
REMINDER: if you’re installing lighting, do not install top rail profiles until the wiring is complete.
Attach Top Rail Profiles and Post Caps
- After measuring between posts at the top and bottom, cut top, and bottom snap covers 2mm less than the opening.
- Clean cut areas and apply touch-up paint on exposed ends.
- Firmly snap each top rail profile over the corresponding rail channel.
- DO NOT USE A HAMMER!
- Top rail profiles attach with a small amount of pressure only.
- Check clips if they’re not connecting correctly.
- Lastly, install the post caps and two-piece baseplate covers on all posts.
If you’re looking for some deck railing ideas in Australia, you can follow @ultralox_au on Instagram to see more!


